



Wheels are often the dirtiest part of any vehicle. They face constant exposure to brake dust, road grime, traffic film, salt, tar, and general environmental contamination.
As a result, most people assume wheel cleaners should always be used at maximum strength. In reality, most wheels do not need aggressive chemistry every time they are cleaned.
Understanding wheel cleaner dilution ratios helps you achieve better results, reduce product waste, and clean wheels more safely and efficiently. Use our free wheel cleaner dilution calculator to get exact measurements for any bottle size — no guesswork required.
Quick answer: Wheel cleaner dilution is very product-dependent. As a rule of thumb, maintained wheels clean well at a weaker dilution, while neglected or heavily contaminated wheels need a stronger mix — sometimes close to neat. Axis is acid-free, so it's safe on most wheel finishes, but always check the label first.
| Wheel condition | Strength |
|---|---|
| Regularly maintained / protected | Weaker dilution |
| Moderately dirty | Mid strength |
| Neglected / heavy brake dust | Strong to near-neat |
What Does Wheel Cleaner Actually Do?
Before selecting a dilution ratio, it helps to understand what wheel cleaner is actually designed to achieve. Regular car shampoo often struggles to remove the type of contamination that builds up on wheels — and that is exactly the gap wheel cleaner fills.
Modern wheels collect far more contamination than bodywork due to their proximity to the road and braking system. A dedicated wheel cleaner is designed to break down this contamination quickly and safely before agitation and rinsing.
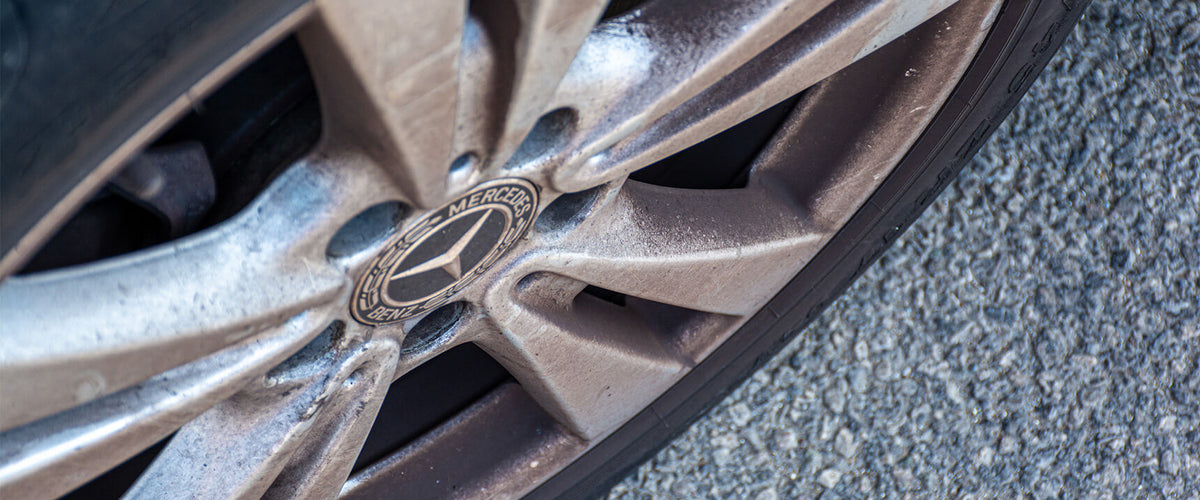
Close-up of a dirty wheel — brake dust, road grime, contamination visible
Suggested: close-up of a contaminated alloy wheel showing brake dust build-up and road film
Wheel cleaner is designed to break down this contamination quickly and safely before agitation and rinsing. The dilution ratio determines how much cleaning power is deployed — and that should always match the level of contamination present.
Why Wheel Cleaner Dilution Matters
The dilution ratio you choose has a direct effect on cleaning power, product economy, wheel safety, rinse behaviour, and overall efficiency. Using wheel cleaner stronger than necessary rarely improves results in any meaningful way.
The goal should always be to use the weakest effective dilution possible — enough chemistry to remove contamination without wasting product. Read our full guide on how dilution ratios work in car detailing for the principles that apply across all detailing chemistry.
Using Maximum Strength Every Wash
This is one of the most common mistakes in car detailing. Many people believe that if some wheel cleaner works, more wheel cleaner must work better.
In reality, wheel contamination changes dramatically depending on mileage, weather, driving conditions, wheel protection, and cleaning frequency.
"If some wheel cleaner works, more wheel cleaner must work better." This is one of the most common mistakes in detailing — and it quietly burns through expensive product with every wash.
Wheel contamination changes depending on mileage, weather, driving conditions, wheel protection, and cleaning frequency. Chemical strength should always match contamination level — not habit.
A wheel cleaned every week may require a fraction of the chemical strength needed for a neglected wheel that hasn't been touched in months. Professional detailers understand this instinctively and adjust their dilution accordingly.
The goal should always be to use the weakest effective dilution possible — enough chemistry to remove contamination without wasting product.
Why Contamination Matters More Than Habit
Before deciding on a dilution ratio, the single most important question to ask is: how dirty are these wheels?
There is a significant difference between lightly dusty wheels on a vehicle cleaned weekly, winter wheels coated in road salt, and wheels with baked-on brake dust from months of neglect. All three situations call for different approaches.
This is why experienced detailers do not default to one ratio for every vehicle. They assess contamination levels first, select an appropriate dilution, and adjust if needed.
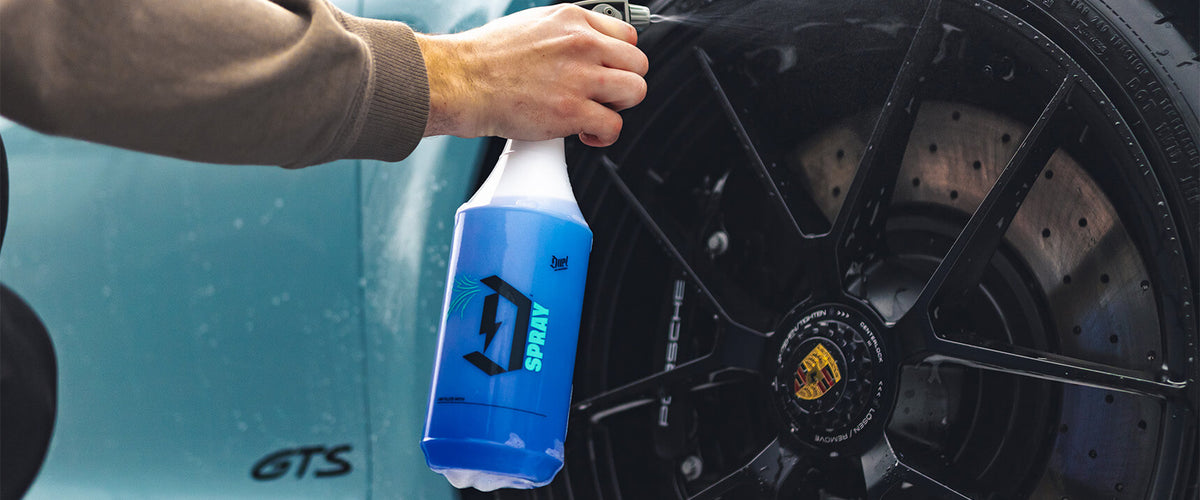
Wheel cleaner being applied to a wheel
Suggested: wheel cleaner being sprayed onto an alloy wheel, showing application coverage
| Contamination Level | Typical Scenario | Suggested Approach |
|---|---|---|
| Light | Weekly wash, protected wheels, low mileage | Weaker dilution — less chemistry needed |
| Moderate | Fortnightly wash, everyday road use | Standard maintenance dilution |
| Heavy | Winter contamination, neglected wheels, heavy brake dust | Stronger dilution — match to task |
Recommended Wheel Cleaner Dilutions
Every wheel cleaner formulation is different, so always follow manufacturer recommendations. As a sensible starting point for most detailing tasks, these three tiers cover the majority of real-world scenarios.
Stronger dilutions should be reserved for situations where contamination genuinely requires additional cleaning power. Use our free Dilution Ratio Calculator to get exact volumes for any bottle size.
Why Stronger Is Not Always Better
One of the most persistent myths in car detailing is that stronger chemistry automatically delivers better results. Wheel cleaners are formulated to perform within a specific concentration range.
Over-concentrating them often results in increased product consumption, higher cost per wash, unnecessary chemical exposure, and little or no improvement in actual cleaning performance.
Correct agitation and dwell time often have a far greater impact than simply increasing concentration. A properly agitated wheel at 1:5 will frequently produce better results than a neglected wheel doused in undiluted product.
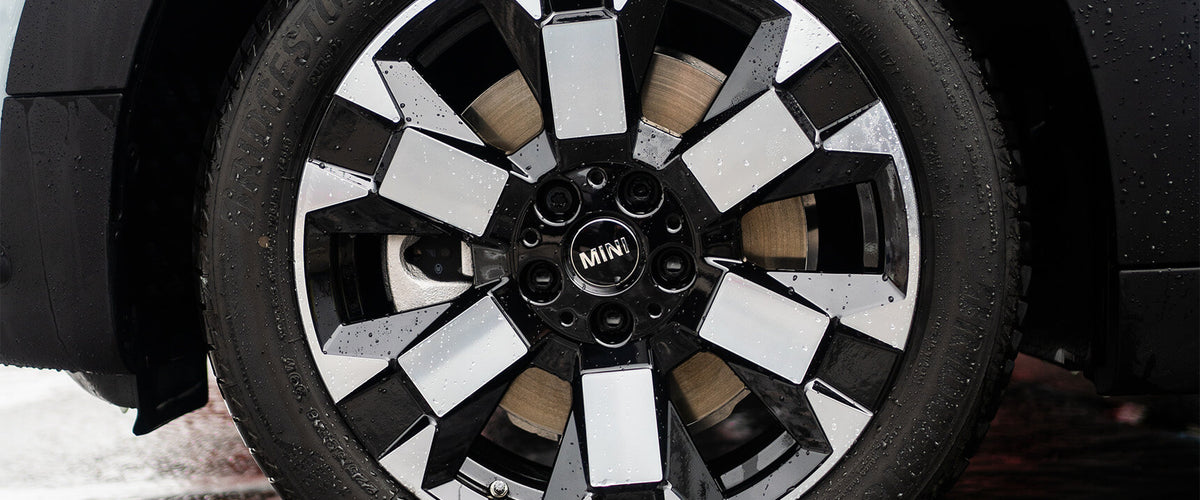
Clean alloy wheel — after correct wheel cleaning process
Suggested: clean alloy wheel after wheel cleaning — showing the finished result
The best detailers focus on using the weakest effective dilution possible, combined with good technique and appropriate tools — not on maximising chemical strength every wash.
Common Wheel Cleaner Mistakes
Wheel cleaner should never be applied to hot surfaces. Heat accelerates evaporation and increases the likelihood of spotting or staining. Always allow wheels to cool before applying product.
No wheel cleaner should be allowed to dry on the surface. This is especially important in warm weather, direct sunlight, or windy conditions. Work one wheel at a time and rinse before moving on.
More product rarely means dramatically better cleaning. Correct agitation and dwell time have a greater impact on results than simply increasing concentration.
Wheel cleaner loosens contamination — it does not automatically remove it. For best results, use suitable wheel brushes, wheel mitts, or wheel wands to safely remove loosened contamination before rinsing.
A lightly dusty wheel and a heavily contaminated winter wheel should not receive the same treatment. Adjust dilution according to the task — this is where most product waste occurs.
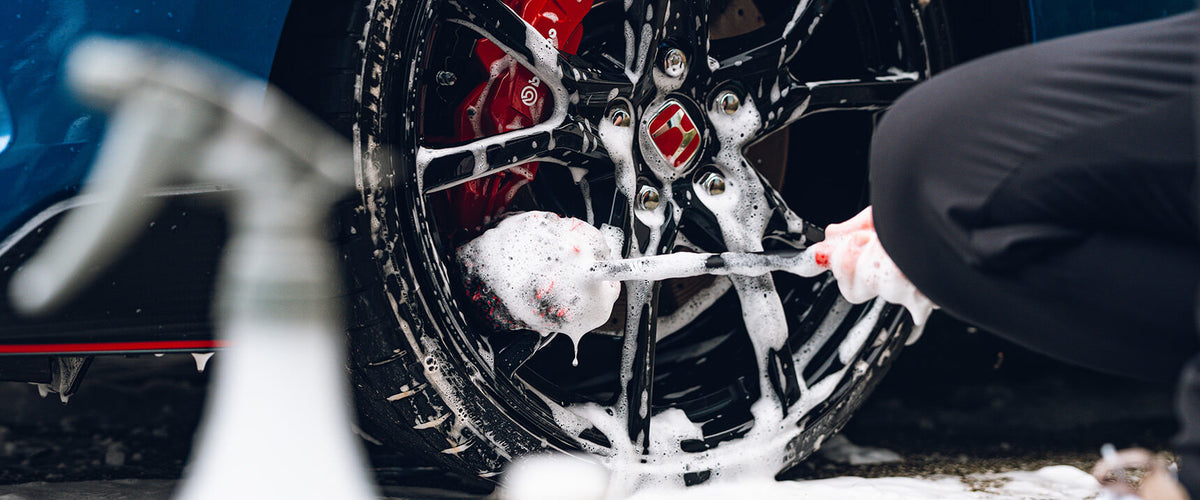
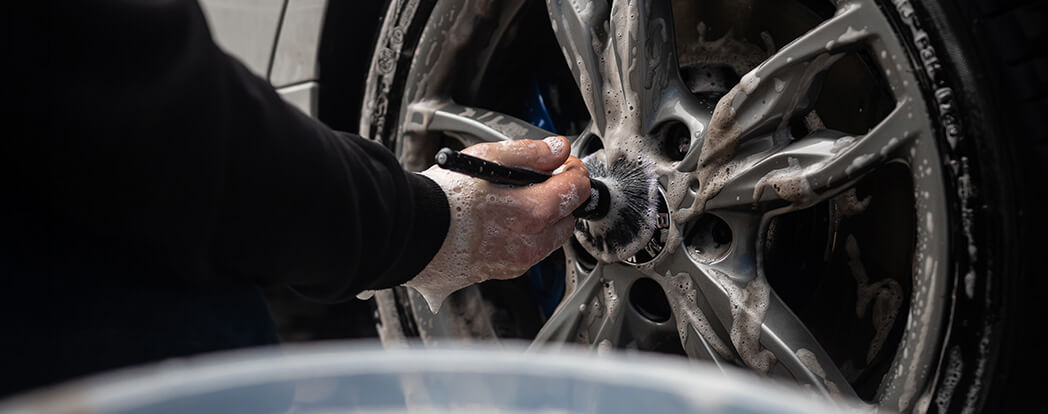
Wheel brush agitating wheel cleaner on an alloy wheel
Suggested: wheel brush being used on an alloy wheel — showing the agitation stage of the cleaning process
Recommended Starting Points for Axis Wheel Cleaner
Axis Wheel Cleaner has been developed to provide strong cleaning performance while allowing users to adjust dilution depending on contamination levels. As always, contamination level should determine dilution strength rather than simply defaulting to the strongest mix available.
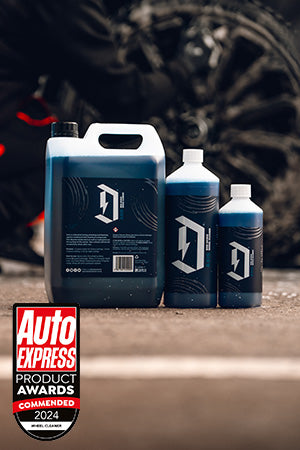
Axis Wheel Cleaner
Formulated to remove brake dust, traffic film, road grime, and salt deposits while remaining economical across a range of dilution strengths. Not simply designed to produce the most aggressive result possible.
- Strong cleaning performance at correct dilution
- Adjustable — works across light, general, and heavy cleaning tasks
- Economical when diluted correctly for the contamination level
- Suitable for routine maintenance and heavier decontamination washes
Axis Wheel Cleaner is formulated for strong, consistent cleaning across all contamination levels — diluted correctly, not used at maximum strength by default.
Wheel Cleaner vs Iron Fallout Remover
These two products are often confused, but they perform distinctly different jobs. Understanding the difference helps you choose the right product for the right task — and avoid using one where the other is actually needed.
Used as part of routine wheel cleaning to remove surface contamination before it bonds and becomes harder to address.
- Road grime and traffic film
- Brake dust (surface level)
- Salt and general contamination
- Used on every wheel wash
Used periodically as part of a deeper decontamination process to target contamination that ordinary wheel cleaner cannot fully address.
- Embedded iron particles
- Bonded brake dust fallout
- Metallic contamination beneath the surface
- Used periodically, not every wash
Products such as Toxin Iron Fallout Remover are designed to target contamination that ordinary wheel cleaners may not fully remove. The two products complement each other rather than replace one another — wheel cleaner handles routine contamination, while iron remover addresses embedded particles during periodic decontamination.
How to Dilute Wheel Cleaner Properly
The process is straightforward once you understand the principle. The key is to assess contamination first and then match your dilution to the task — not the other way around.
Decide which spray bottle or container you are mixing into. Common sizes are 500ml or 1 litre trigger sprayers.
Look at the wheels. Are they lightly dusty, moderately contaminated from regular use, or heavily soiled from winter driving or neglect?
Match your chosen ratio to the contamination level: 1:10 for light, 1:5 for general, 1:3 for heavy. Start weaker and increase if needed.
Use our Dilution Ratio Calculator for exact volumes. For a 1 litre bottle at 1:5, you need 166.7ml of wheel cleaner and 833.3ml of water.
Add water to reach the full bottle volume. Tap water is generally fine; filtered or deionised water will improve results in hard water areas.
Apply to cool, dry wheels. Allow the product to dwell and break down contamination — typically 1–3 minutes depending on soiling level. Do not allow to dry.
Use suitable wheel brushes to agitate and lift contamination, then rinse thoroughly with a pressure washer or hose before moving to the next wheel.
Use our free Dilution Ratio Calculator for any bottle size and ratio. Get exact product and water amounts every time — no maths required.
Frequently Asked Questions
What dilution ratio should wheel cleaner be?
Can wheel cleaner damage wheels?
Does stronger wheel cleaner clean better?
Can wheel cleaner remove brake dust?
How often should wheel cleaner be used?
Do I still need iron fallout remover?
Final Thoughts
Wheel cleaner is one of the most effective products in any detailing arsenal, but using it correctly is just as important as choosing the right product in the first place.
Understanding dilution ratios allows you to clean more efficiently, reduce chemical waste, lower cleaning costs, protect wheel finishes, and achieve more consistent results across every vehicle you clean.
The strongest dilution is rarely the best dilution. The most effective approach is to match the strength of your wheel cleaner to the level of contamination, allowing the chemistry to do its job without unnecessary excess.
If you also use an all-purpose cleaner or snow foam as part of your wash routine, see our related guides on APC dilution ratios explained and snow foam dilution ratios explained.
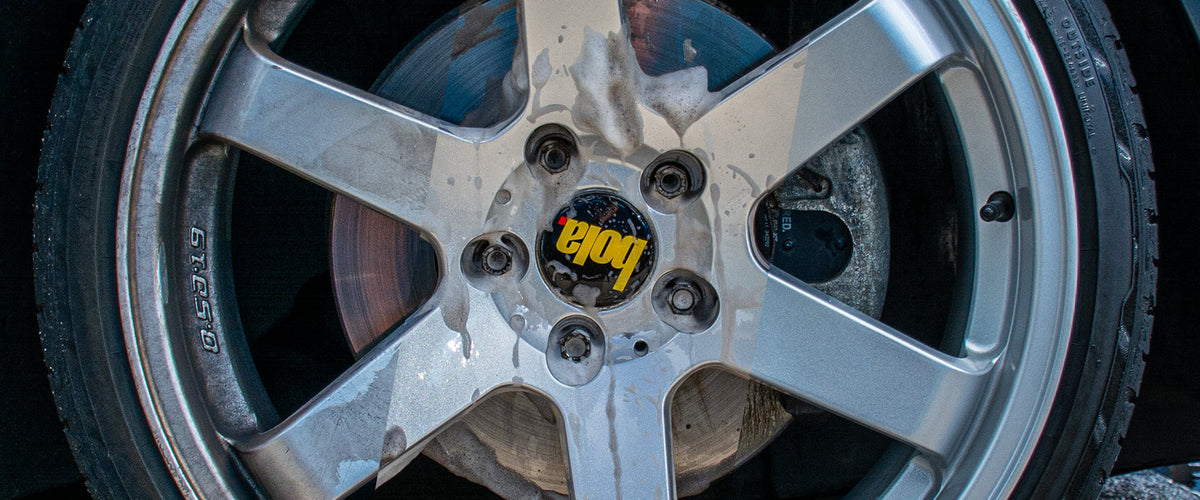
Clean alloy wheels — finished result after correct cleaning process
Suggested: clean, gleaming alloy wheels on a freshly detailed vehicle — showing the finished result
Assess contamination first. Select the weakest effective dilution. Use the right tools. Rinse thoroughly. Use our free Dilution Ratio Calculator to get the measurements right every single time — no guesswork required.