



For many people, wheels are the hardest part of the car to keep clean.
You can wash the bodywork perfectly, but if the wheels are covered in brake dust and road grime, the whole car still looks dirty.
The good news is wheel cleaning does not need to be complicated.
With the right products and a simple routine, you can safely clean your wheels, tyres and wheel arches without spending hours scrubbing.
This guide is designed for complete beginners and will show you exactly how to clean your wheels properly, even if you've never detailed a car before.
Why Do Wheels Get So Dirty?
Your wheels deal with more abuse than almost any other part of the vehicle. Every journey exposes them to a relentless combination of contamination that no other panel faces.
Unlike the paintwork, wheels are constantly exposed to heat from the braking system, which causes contamination to stick more aggressively. That is why they often look dirty again long before the rest of the car.
The good news is that regular cleaning makes the job much easier and helps keep your wheels looking their best for longer.
What You'll Need
For most wheel cleaning jobs you don't need much. A quality wheel cleaner, a tyre cleaner and the right brushes are enough to transform a set of wheels.
- Axis Wheel Cleaner
- Cleanse Tyre Cleaner
- Profile Tyre & Trim Dressing
- Wheel brush or wheel mitt
- Tyre brush
- Water source or pressure washer
- Clean microfibre towel
- Toxin Iron Fallout Remover
- All standard kit items above
You don't need to buy everything at once. Start with Axis Wheel Cleaner, a wheel brush and Cleanse Tyre Cleaner. Add Profile and Toxin once you're comfortable with the process.
Always Clean Wheels First
This is one of the most important rules in car cleaning, and one of the most commonly broken.
Because wheel cleaning creates splashes and overspray, if you've already washed the paintwork, you'll end up putting dirt and brake dust back onto clean panels.
Washing the bodywork first, then cleaning the wheels. The result? Brake dust and grime splashes back onto panels you've already cleaned — and you have to start again.
Always clean your wheels before washing the rest of the vehicle. Wheel cleaning creates splashes and overspray — starting here keeps everything else clean throughout the process.
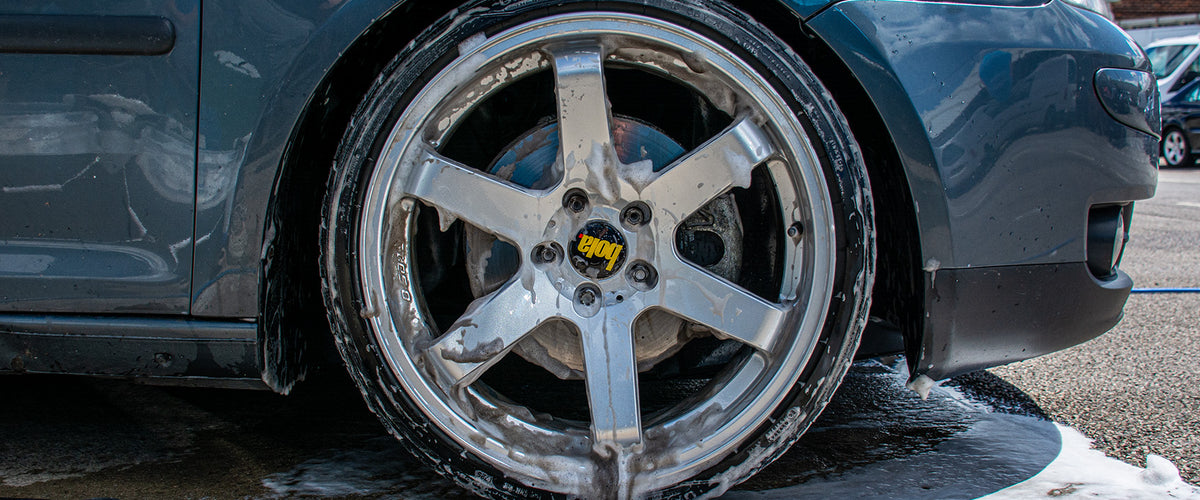
Wheel being cleaned before the rest of the car is washed
Suggested: wheel being cleaned with spray product applied — showing the correct starting point before washing the bodywork
Rinse The Wheels
Before applying any product, thoroughly rinse the wheel and tyre with clean water. This removes loose dirt, sand, grit and mud — reducing the amount of scrubbing required later and making your cleaning products work more effectively.
Rinsing first means you're not dragging abrasive grit across the wheel surface when you come to agitate with a brush. It's a small step that protects your wheels and makes the rest of the process easier.
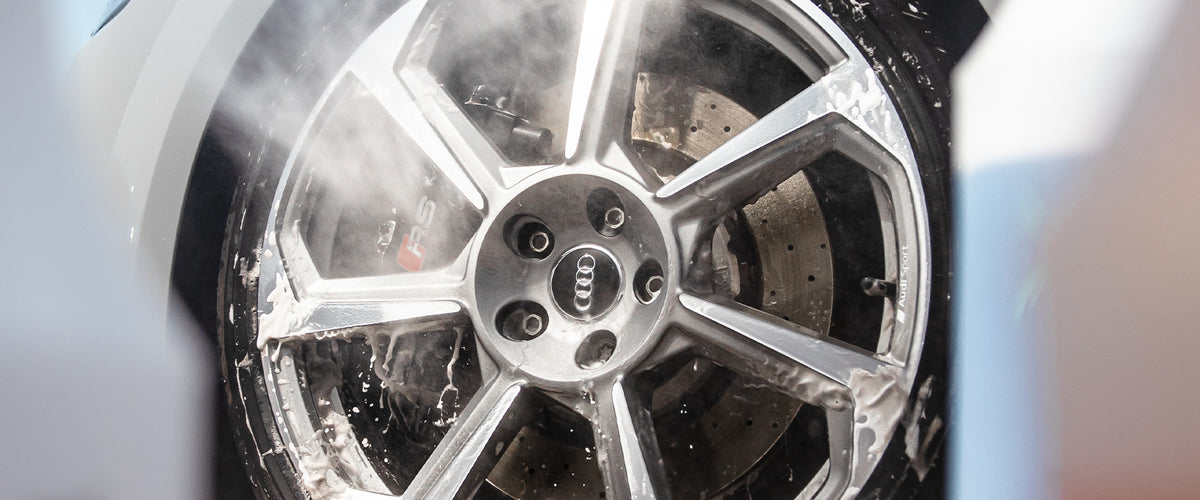
Wheel being rinsed with a pressure washer
Suggested: pressure washer rinsing a dirty wheel — showing the initial rinse before any product is applied
Apply Wheel Cleaner
Axis is designed to break down brake dust and road grime without relying on harsh acids. This makes it an excellent choice for beginners who want strong cleaning performance without using aggressive products.
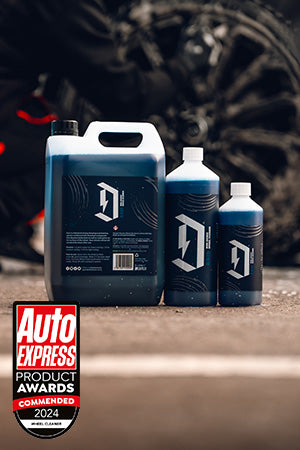
Axis Acid Free Wheel Cleaner
Formulated to remove brake dust and road grime safely across a range of dilutions — without the risk of acid-based products.
- Acid free — safe for all alloy finishes
- Adjustable dilution — 1:10 light / 1:5 regular / 1:3 heavy
- Strong cleaning performance with safe chemistry
- Ideal for beginners and experienced detailers alike
Suggested Dilutions
If you're unsure where to start, begin with 1:10 and increase strength if required.
How To Apply
Cover the wheel face and work around all the spokes, ensuring full coverage across the entire wheel surface.
Let the product sit and break down contamination before you touch the wheel. Do not allow it to dry — work in the shade if possible.
The cleaner should break down most contamination before you even pick up a brush. This is where the chemistry does its job.
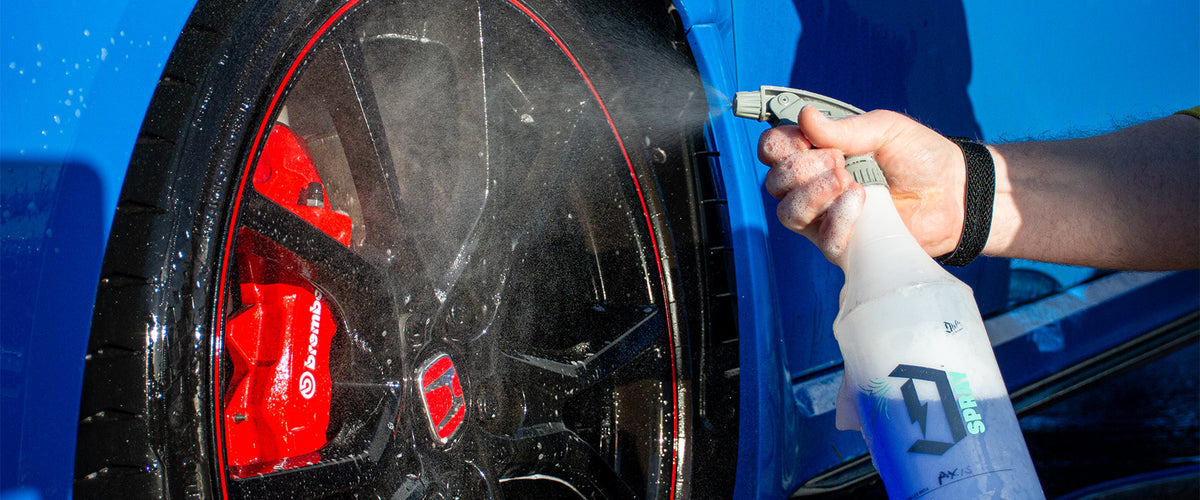
Axis wheel cleaner being sprayed onto an alloy wheel
Suggested: Axis wheel cleaner being sprayed onto an alloy wheel — showing application coverage across the face and spokes
Agitate The Wheel
Using a wheel brush or wheel mitt, gently clean the wheel face, spokes, behind the spokes and the wheel barrel where accessible.
You do not need to attack the wheel aggressively. If the product has been allowed to dwell properly, most contamination will release with very little effort.
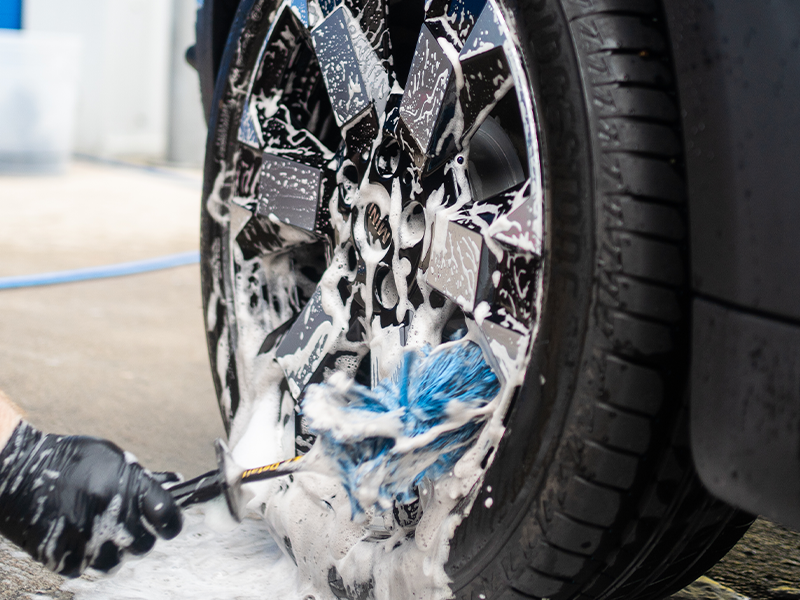
Work your brush through the spokes, around the wheel face and as far into the barrel as your brush will reach. Use a smaller detailing brush for tight areas around wheel nuts and valve stems.
Gentle, methodical agitation is more effective than hard scrubbing. Let the chemistry do the heavy lifting — your brush is just there to encourage contamination off the surface.
Wheel brush working through the spokes of an alloy wheel during the agitation stage
If the wheel still looks dirty after rinsing, simply repeat the process rather than scrubbing harder. A second application of Axis will always be more effective than damaging the wheel surface with excessive force.
Rinse Thoroughly
Once you've agitated the wheel, rinse thoroughly with clean water. Pay particular attention to wheel nuts, behind spokes, around valve stems and the tyre sidewalls. Any remaining product should be completely removed before moving on.
Never allow wheel cleaner to dry on the surface. In warm weather or direct sunlight, the product can evaporate quickly and leave residue behind. Always rinse before moving to the next wheel.
Clean The Tyres
Many people spend time cleaning their wheels but completely ignore the tyres. The result? Clean alloy wheels surrounded by brown, faded-looking rubber.
Tyres naturally collect old dressings, road grime, traffic film and dirt from the road surface. Cleaning the tyre properly creates a much better overall finish and prepares the surface correctly for dressing later.
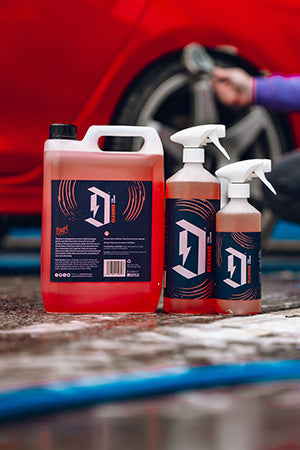
Cleanse Tyre Cleaner
Designed to remove old dressings, road contamination and embedded grime from tyre sidewalls — creating a clean base for dressing.
- Removes old dressings and built-up grime
- Prepares tyres correctly for dressing application
- Works across all tyre sidewall types
- Pairs perfectly with Profile Tyre & Trim Dressing
How To Use Cleanse
Apply Cleanse directly to the tyre sidewall, ensuring full coverage around the entire tyre.
Work the product around the entire sidewall using a stiff tyre brush. Pay attention to lettering and any textured areas.
Rinse all product and lifted contamination away completely. You may notice brown residue lifting — this is completely normal and shows contamination being removed from the rubber.
For tyres that haven't been cleaned in a long time, a second application of Cleanse may be required to fully remove built-up old dressings and embedded contamination.
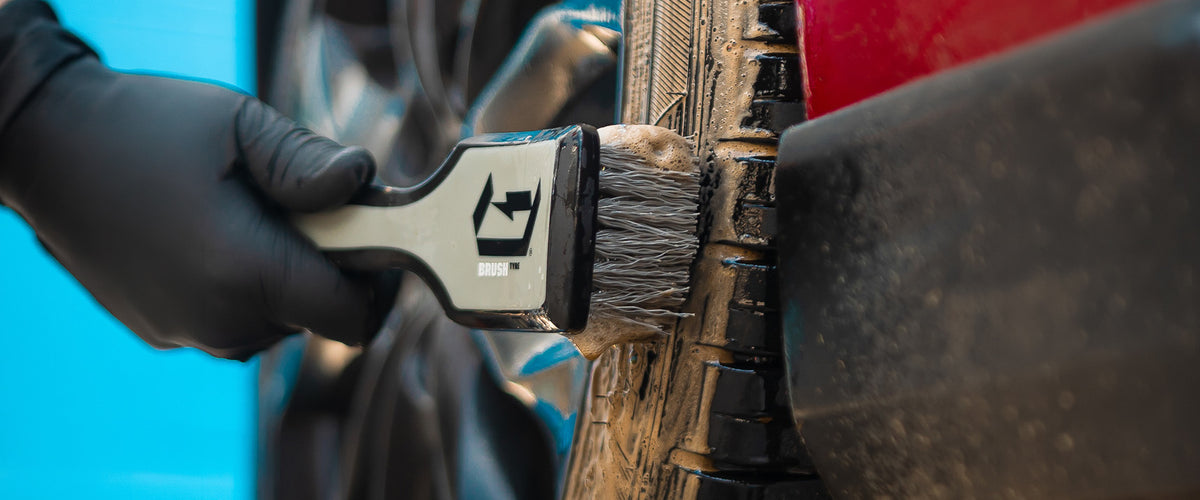
Tyre brush agitating Cleanse on a tyre sidewall
Suggested: tyre brush working across the sidewall of a tyre — showing the agitation stage with Cleanse Tyre Cleaner
Remove Embedded Iron Contamination
Sometimes wheels still look dirty even after a thorough clean. This is usually caused by embedded iron contamination — tiny metallic particles from brake pads and road contamination that have become lodged in the wheel finish and cannot be removed by normal wheel cleaners alone.
Signs Your Wheels Need Iron Removal
Run your fingertips across the wheel — embedded contamination creates a texture that feels like fine sandpaper even after cleaning.
Dark or orange-brown staining that doesn't lift with wheel cleaner is a strong indicator that iron contamination has bonded to the surface.
Individual rust-coloured spots visible across the wheel face are a classic sign of embedded metallic particles that require iron removal.
If your wheels always look slightly dirty even immediately after cleaning, embedded contamination is almost certainly the cause.
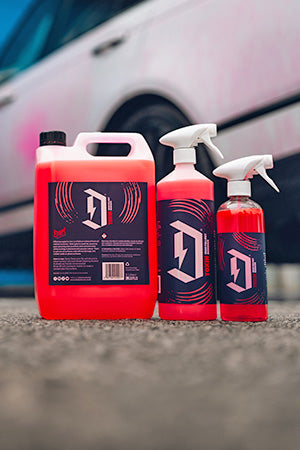
Toxin Iron Fallout Remover
A colour-changing iron remover that visually identifies and dissolves embedded metallic contamination — the contamination standard cleaning cannot reach.
- Colour-change formula shows reaction in real time
- Removes embedded iron particles and bonded brake dust
- Safe for use on alloy wheels and paintwork
- Use periodically — not required every wash
How To Use Toxin
Always complete a standard wheel clean before applying Toxin. Iron remover works on embedded contamination, not surface grime.
Apply the product across the entire wheel surface, covering all areas including spokes and the wheel face.
Allow the product time to work — you'll see a colour-changing reaction appear wherever embedded iron contamination is present.
Rinse all product away completely with clean water. The colour-changed residue confirms the contamination has been dissolved and removed.
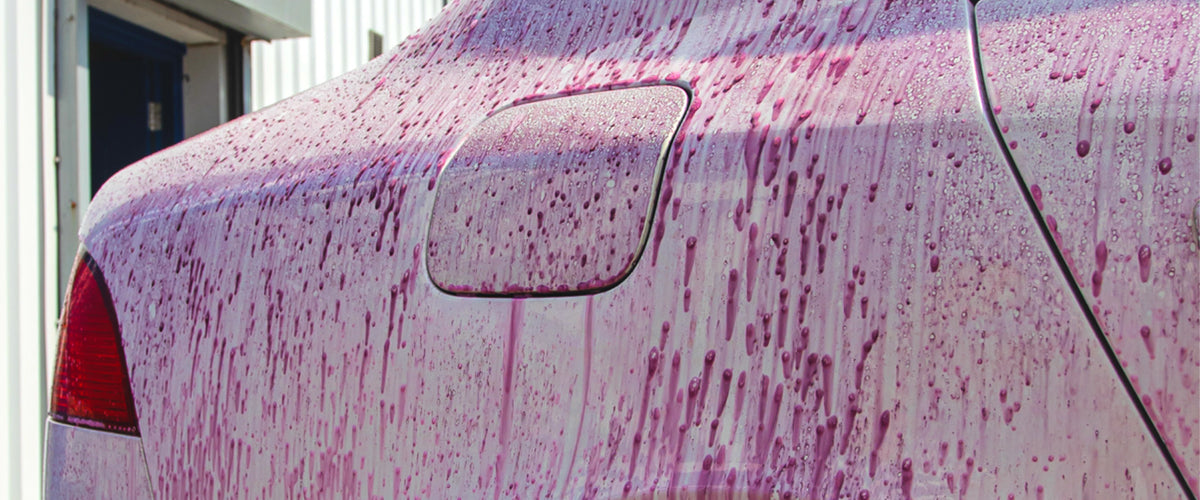
Iron Fallout Remover colour-change reaction on an alloy wheel
Suggested: Toxin Iron Fallout Remover reacting on a wheel surface — showing the purple/red colour change that indicates embedded iron contamination
Iron removal is not required every wash. For most daily-driven vehicles, a Toxin treatment every 2–3 months as part of a deeper clean is all that's needed. You'll know it's time when your wheels still look slightly contaminated after a standard clean.
Finish The Tyres
Once the tyres are clean and dry, you can restore their appearance using a tyre dressing. This is the finishing touch that many beginners overlook.
A properly dressed tyre can completely transform the appearance of the vehicle before you've even touched the paintwork.
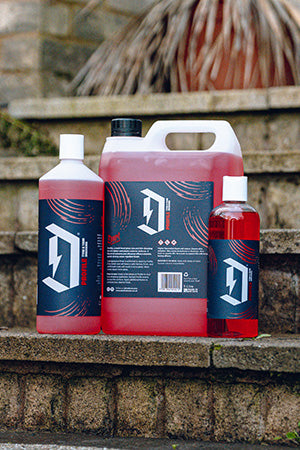
Profile Tyre & Trim Dressing
Restores a deep, rich black finish to tyres and exterior trim — completing the look of the vehicle and protecting rubber from fading.
- Restores deep black finish to tyres
- Helps protect rubber from UV fading
- Suitable for tyres and exterior trim
- Pair with a tyre applicator for best results
Why Use A Tyre Dressing?
Profile helps:
Think of it like polishing a pair of shoes after cleaning them. The shoes were already clean, but the finishing touch makes all the difference.
How To Apply Profile
Profile should only be applied to a properly cleaned and dry tyre. Applying over contamination or moisture will affect adhesion and finish.
Less is more. A small amount of Profile spread evenly will always produce a better result than an excessive application.
Work the dressing across the entire tyre sidewall in smooth, even strokes. Cover the full surface including lettering and textured areas.
Allow a few minutes for the product to settle into the rubber. If any excess product remains, wipe away with a clean cloth before driving.
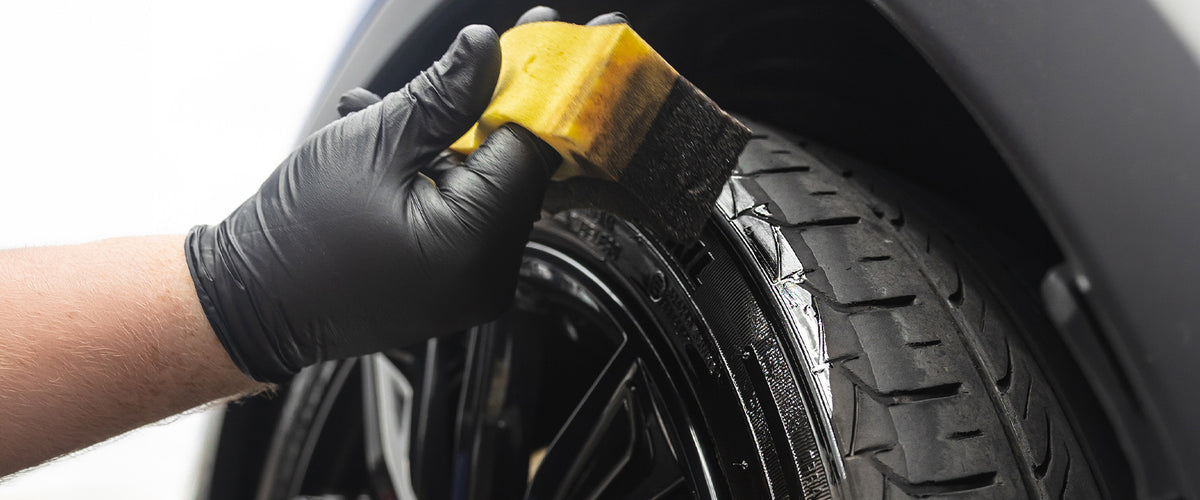
Profile Tyre Dressing being applied with an applicator pad
Suggested: tyre dressing applicator being worked across a freshly cleaned tyre sidewall — showing the application technique
Applying too much dressing can leave tyres looking overly shiny and may increase the chance of sling when driving. Two light coats will always look better than one heavy coat. Start with less and build up if needed.
Common Beginner Mistakes
Always allow wheels to cool before cleaning. Products can dry too quickly on hot surfaces and become difficult to work with.
Avoid using washing up liquid, kitchen degreasers or bathroom cleaners. These products were never designed for automotive wheel finishes.
Wheel contamination is extremely abrasive. Keep wheel brushes, cloths and mitts completely separate from those used on paintwork.
More chemical does not automatically mean better cleaning. Start with the mildest dilution and only increase strength if required.
Never allow wheel cleaner or iron remover to dwell longer than recommended. Dried product can leave residue, staining and increase the risk of marking the finish.
How Often Should You Clean Your Wheels?
Regular maintenance is always easier than trying to recover heavily neglected wheels. For most daily-driven vehicles, the following schedule covers everything you'll need.
- Wheel clean with Axis
- Tyre clean with Cleanse
- Tyre dressing with Profile
- Iron decontamination with Toxin
- Deep wheel clean
- Tyre reset and dressing
| Task | Product | Frequency |
|---|---|---|
| Wheel clean | Axis Wheel Cleaner | Every 1–2 weeks |
| Tyre clean | Cleanse Tyre Cleaner | Every 1–2 weeks |
| Tyre dressing | Profile Tyre & Trim Dressing | Every 1–2 weeks |
| Iron decontamination | Toxin Iron Fallout Remover | Every 2–3 months |
Clean your wheels regularly and don't wait until they're heavily contaminated. A wheel cleaned every few weeks takes a fraction of the time and effort that a heavily neglected wheel will need, and the routine pays for itself in time and product saved.
A Simple Wheel Cleaning Routine
If you take nothing else from this guide, use these two simple checklists. They cover the vast majority of cleaning situations for daily-driven vehicles.
Every Wash
Remove loose dirt and grit before applying any product.
Spray, dwell 1–2 minutes, work with a wheel brush, then rinse thoroughly.
Spray, agitate with a tyre brush, then rinse thoroughly.
Use a clean microfibre to dry before applying dressing.
Spread evenly, allow to settle, then remove excess if needed.
Every Few Months
Complete a thorough standard wheel clean before iron treatment.
Apply, allow the colour-change reaction, then rinse thoroughly.
Full tyre clean to remove any build-up since the last deep clean.
Fresh dressing on clean, dry tyres for a like-new finish.
Simple. Effective. Safe. Four products. Two routines. That's all it takes.
Frequently Asked Questions
What is the best way to clean alloy wheels?
Should wheels be cleaned before washing a car?
What causes brake dust on wheels?
Do I need an iron fallout remover for my wheels?
Should I apply tyre dressing after cleaning my tyres?
How often should I clean my wheels?
Final Thoughts
Wheel cleaning often looks intimidating when you first start looking into car care. In reality, it is one of the simplest parts of maintaining a vehicle once you understand the process.
A quality wheel cleaner, a tyre cleaner and an occasional iron remover are all most people will ever need. Keep the process simple. Clean your wheels regularly. Don't wait until they're heavily contaminated.
And remember — clean wheels and properly dressed tyres can completely transform the appearance of your vehicle before you've even touched the paintwork.
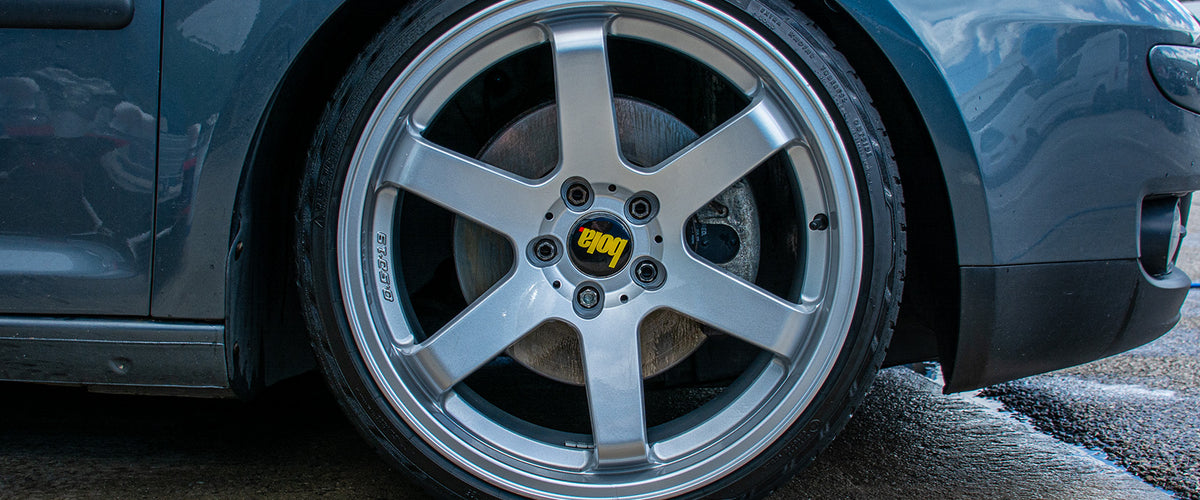
Clean alloy wheels with dressed tyres — the finished result
Suggested: clean alloy wheels with freshly dressed tyres on a detailed vehicle — showing the complete finished result
Clean wheels first. Use the right products. Start with a mild dilution. Let the chemistry dwell. Rinse thoroughly. Dress the tyres. Repeat regularly — and the job gets easier every time.
Recommended Next Reads
These guides will help you build confidence, avoid common mistakes and get better results every time you clean your car.